Introduction
How many of you have come across a customer that says something along the lines of “We have this great program that we want you to interact with, but it has no API to access”. Maybe it is old, or maybe it was written in-house and adding an API was not considered a requirement. In any case, it is a pain.
Enter Robotic Process Automation (RPA). This is system that will allow you to interact directly with applications through their user interface without having to use APIs. While there are programs you can buy that do this, the good news is Power Automate can do this and it is included with Windows 11! Combine that with Power Automate in the cloud and a Logic App/Playbook you can easily automate the interaction with these apps.
For those that don’t know, Power Automate is a workflow engine from Microsoft. If you have used Logic Apps, it is the same general idea, and the UI even looks very similar. It has an engine that runs in the cloud and one that runs on the desktop, and we will use both as well as Logic Apps/MS Sentinel Playbooks to start the entire process.
Power Automate Desktop
We are going to start designing this workflow from the desktop. It makes sense to do it this way, since you will need to know what data will be required to fill in the application.
To open Power Automate, click on the start button in your windows environment and type in “Power Automate”. Note that if you are using Windows 10, you will need to download and install the application from Download Power Automate Desktop for Windows 10 to automate tasks and processes at no additional cost | Windows Experience Blog.
When it starts it will look like the image below.
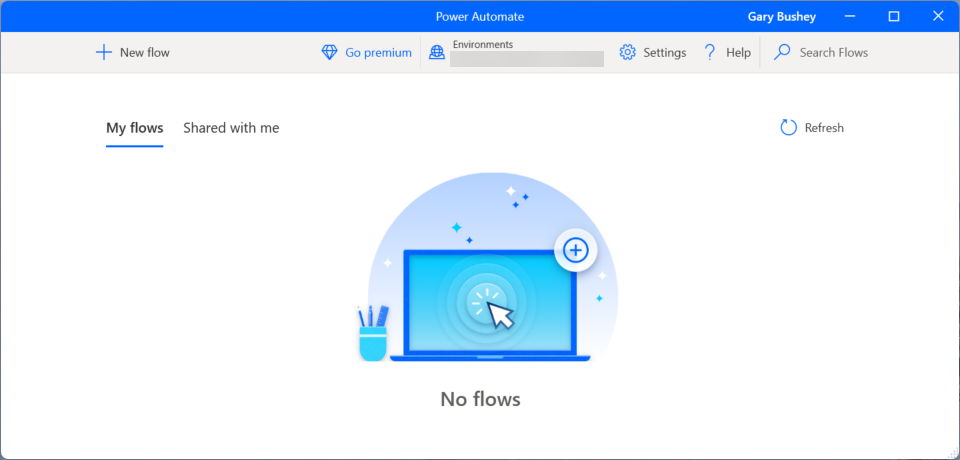
Click on the “+ New flow” icon in the header bar. The “Build a flow” window will open. Give it a name and click the “Create” button. I am creating one called “BlogPost”.
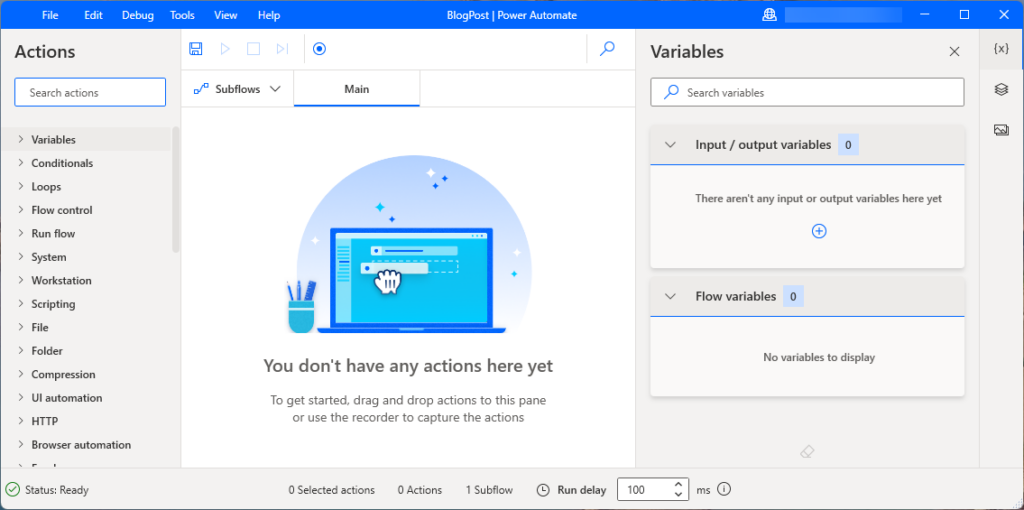
It will take a while for the new flow to get created. Once it does, a new window will open that will allow you to create your workflow (note, that this window opened behind other windows on my laptop so look around if you don’t see the window).
We are not going to go over all the various actions that are available. You can go here to start reading about Power Automate desktop Introduction to Power Automate for desktop – Power Automate | Microsoft Docs. We are not going to do a step-by-step walkthrough either (if that is something you want, let me know in the comments). There are videos available on YouTube that show you how to do that. One I found useful is Getting Started With Robotic Process Automation (RPA) Using Power Automate Desktop – YouTube Disclaimer: I have nothing to do with this video or the person presenting it. I just found it useful.
In a nutshell, you will need to start the application, record the steps you are going to take to fill out the form, add some steps to wait for certain other actions to complete, and then close the app. Pretty easy.
What the video doesn’t cover is the “Input/Output variables”. You will need to add these so that the cloud-based Power Automate knows what information will be needed and which variables to fill in. If you click on the plus-sign icon in the variable section, it will ask you if this is an input or an output variable. Select “input” and it will open the new variable window shown below.
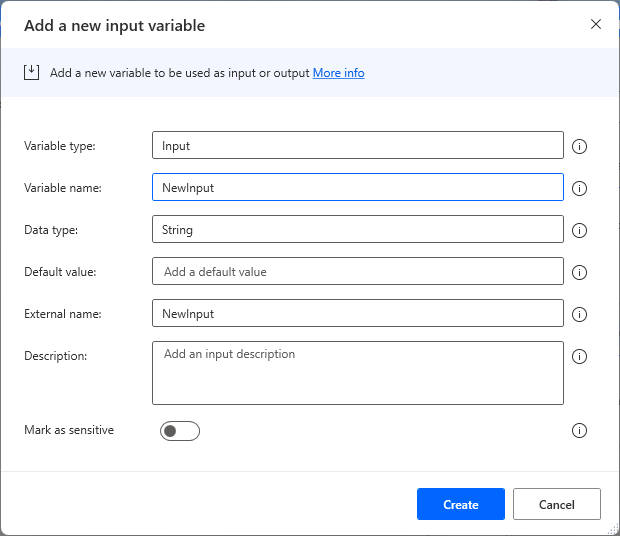
Fill out all the information as needed. NOTE: You can have the internal name of the variable be different than the external name. Just changing the “Variable name” only change the internal variable name. You must change the “External name” as well if you want the variable names to match.
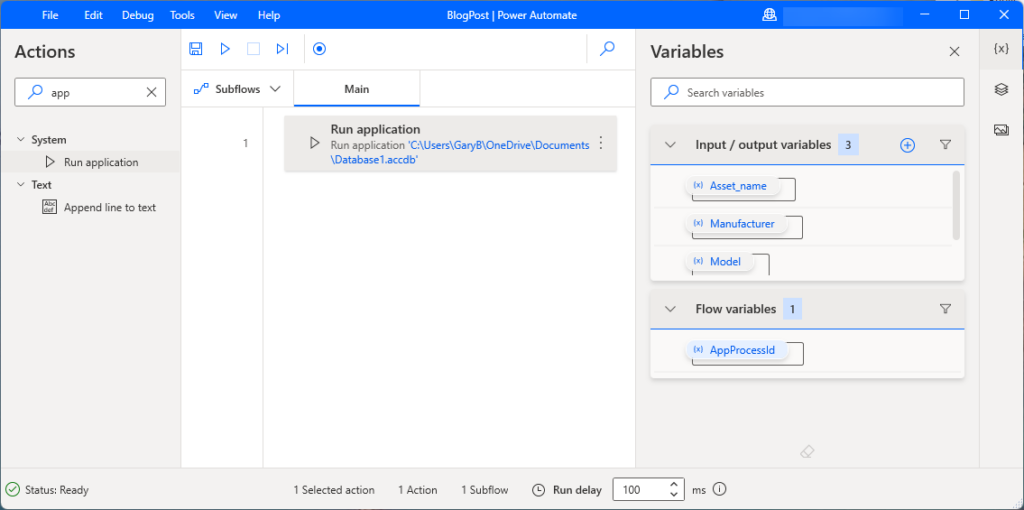
I have created 3 variables, and added a step to launch my database, that will be used in this demonstration as shown below
Power Automate cloud
Now we will create the Power Automate cloud workflow that will call the desktop workflow. To start, you can go here Power Automate | Microsoft Power Platform and login. Once you do, you will see the Power Automate portal like what is shown below. If you scroll down in the portal, there are a lot of training assets you can use to learn more.
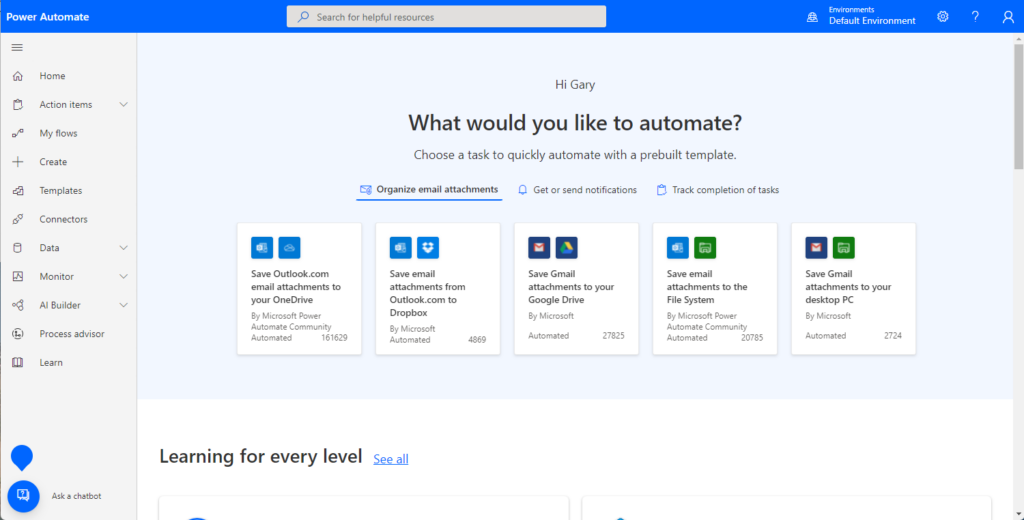
Figure 5 – Power Automate portal
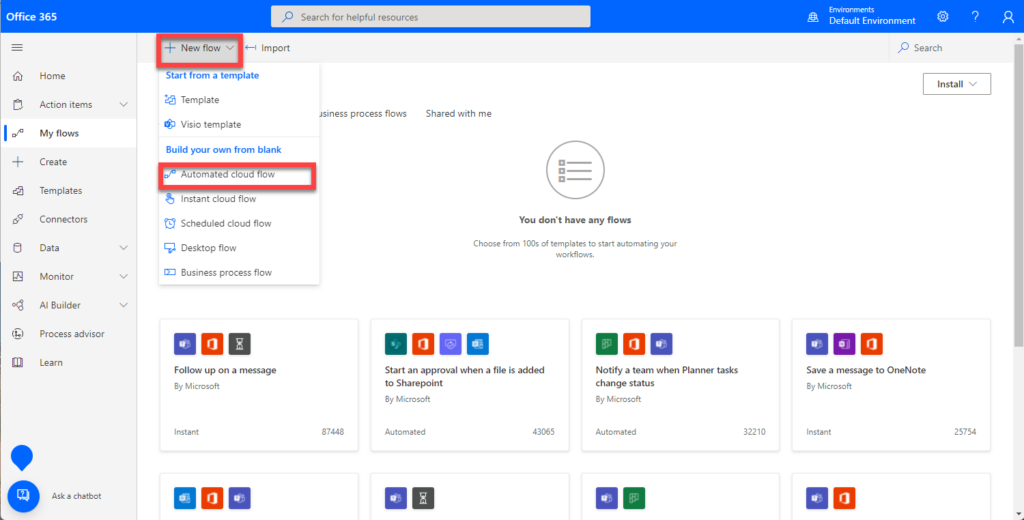
Click on the “My flows” navigation menu in the left-hand navigation area. You will be taken to the flows area where you can create a new flow. Once there, click on the “+ New flow” button on the top and select “Automated Cloud flow”. There are also plenty of pre-built templates if you want to start from one of them.
Now, the “Build an automated cloud flow” window pops-up. Enter a name for your flow and select your trigger. There are a lot of triggers to choose from, but the one I am using for this post is “When events are available in Event Hub”. There are plenty of other choices that would work for us including ones from Azure Blob storage and Azure Queues. Make sure that whatever system you are using as the trigger has already been created as you will be asked to connect to it.
The key here is that you will be using the “Run a flow built with Power Automate for desktop” to kick off the workflow on your desktop. A couple of things to keep in mind.
- You will need to install the Power Automate on-premises data gateway in a location that can access the desktop computer. More information on it can be found here: On-premises data gateway – Power Automate | Microsoft Docs
- This appears to be a premium feature so there will be an additional cost. For more information on the various Power Automate licenses available, go here: Types of Power Automate licenses – Power Platform | Microsoft Docs
- More information on running a desktop flow can be found here: Run a Power Automate desktop flow – Power Automate | Microsoft Docs
Logic Apps / Playbook
Now that you have your Power Automate workflow all set with its trigger and steps, it is just a matter of kicking it off. When I demoed this to a customer, I used the Event Hubs trigger for Power Automate and had my playbook write everything needed into the Event Hub. Use whatever works for you.
Summary
The blog post is just a very brief introduction to using Robotic Power Automation that is part of Power Automate. It used Power Automate on the desktop and in the cloud. I hope it gives you some ideas of how to use RPA if you ever need it.